Now that the 35mm to medium format film adapter has been created, it’s time to think about how to compose our pictures. To achieve this, we need to make a mask, that will help the photographer see the width of the film (including the sprockets of course).
Each medium format camera is different. I’ve used a Mamiya C220, a beautiful twin-lens reflex camera.

For the mask, I’ve used some inkjet transparency film, to be inserted onto the ground glass of the waist level viewfinder, just underneath the easel keeping the glass in place.
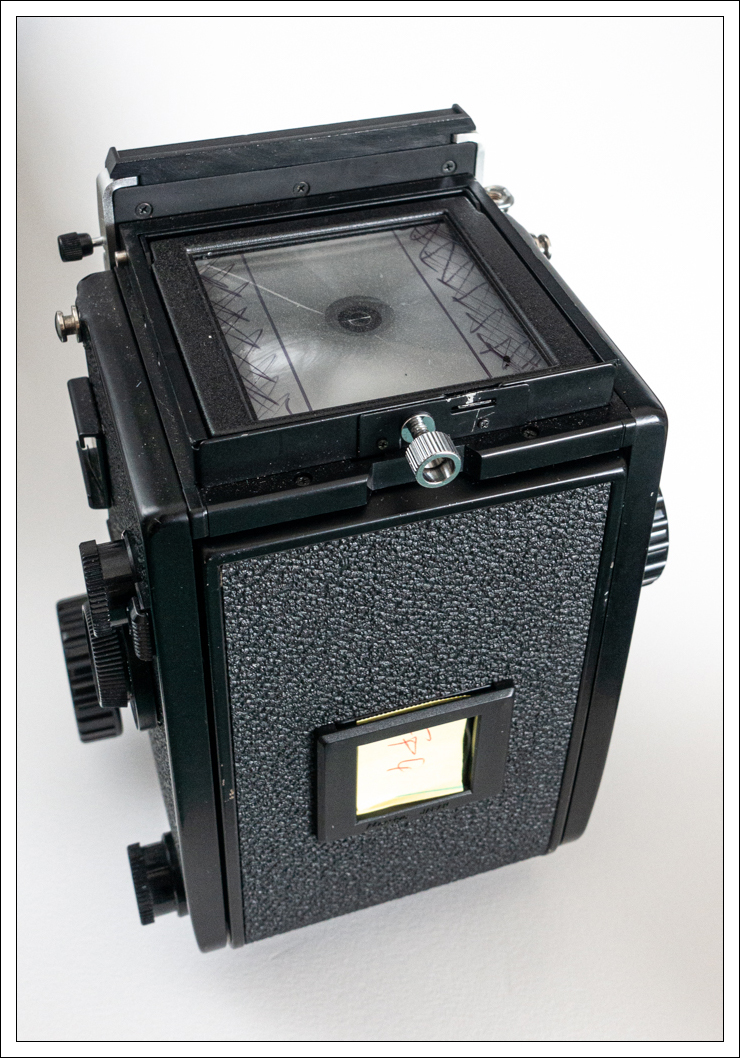
The viewing hood of the C220 is very easy to remove. Freeing the easel requires to unscrew two (very) tiny screws. The viewfinder of the camera reveals 100% of the field of view. However, it is scaled to 94%: the height and width of the viewfinder is about 52.6mm for an effective film area of 56 mm.
The width of a 35mm film, including the sprockets is… 35mm, which means the width of the area on the mask is 35 x .94 ~ 32.9mm. The viewing area is therefore 32.9 mm * 52.6mm.
As to the size of the piece of film, we’ll cover the entire ground glass, including the parts of glass under the easel, so that the film won’t move out of alignment when the camera is moved, tilted, etc. The Mamiya C220’s ground glass measures 2 7/16″ x 2 1/4″ (in other words 62 mm x 57.1 mm). Marking the viewing area on the piece of transparency film is easy.

So, now that we have the means to compose images, how about loading some film into the camera and start shooting away? Let’s talk film first.
Experimentation is what we’re doing here. So before committing a complete roll of 36 exposures of valuable film, we’ll start with loading a canister with Bulk Film, just enough to make a couple of exposures to test our mask and adapter. We’ll use Black and white, easy to develop at home.
There’s still one question to answer and that has to do with paper. Black paper protects medium format film from being exposed to light during the loading and unloading process. 35mm film does not use paper. There’s always a little bit of wasted film as result of the loading process. Should we load our 35mm into the medium format camera the same was as loading a 35mm camera, we’ll waste a lot of film. A paper lead must be attached to the start of the film. I’ve used a lead of about 1/2 a foot. Yes, another estimate that we will get rid of soon.
Now, on to the first “sprocketed” exposure, a by-the-window shot.

That concludes our experiment. The next step is to formalize our measurements, make a template for our mask and make a better estimate of the paper lead required to load the film. Until the next blog post, stay safe and take it easy.

One thought on “135 in 120, part #2”